DIY Acoustic Panels Install
The goal with every NetWell soundproofing project is to control both your noise and your costs. Self-installing your acoustic treatment can cut your total project costs in half. What we tell our clients is that if you have the skills to hang a picture on a wall, you have the skills necessary to easily self install your new sound panel system. Tens of thousands of satisfied NetWell clients who all came before you have all successfully done just that. Building maintenance staff, volunteers, or hiring a local low cost general trade contractor, any of these options offer substantial savings to your cost. Installing DIY acoustic panels is a great cost saving option for your soundproofing needs.
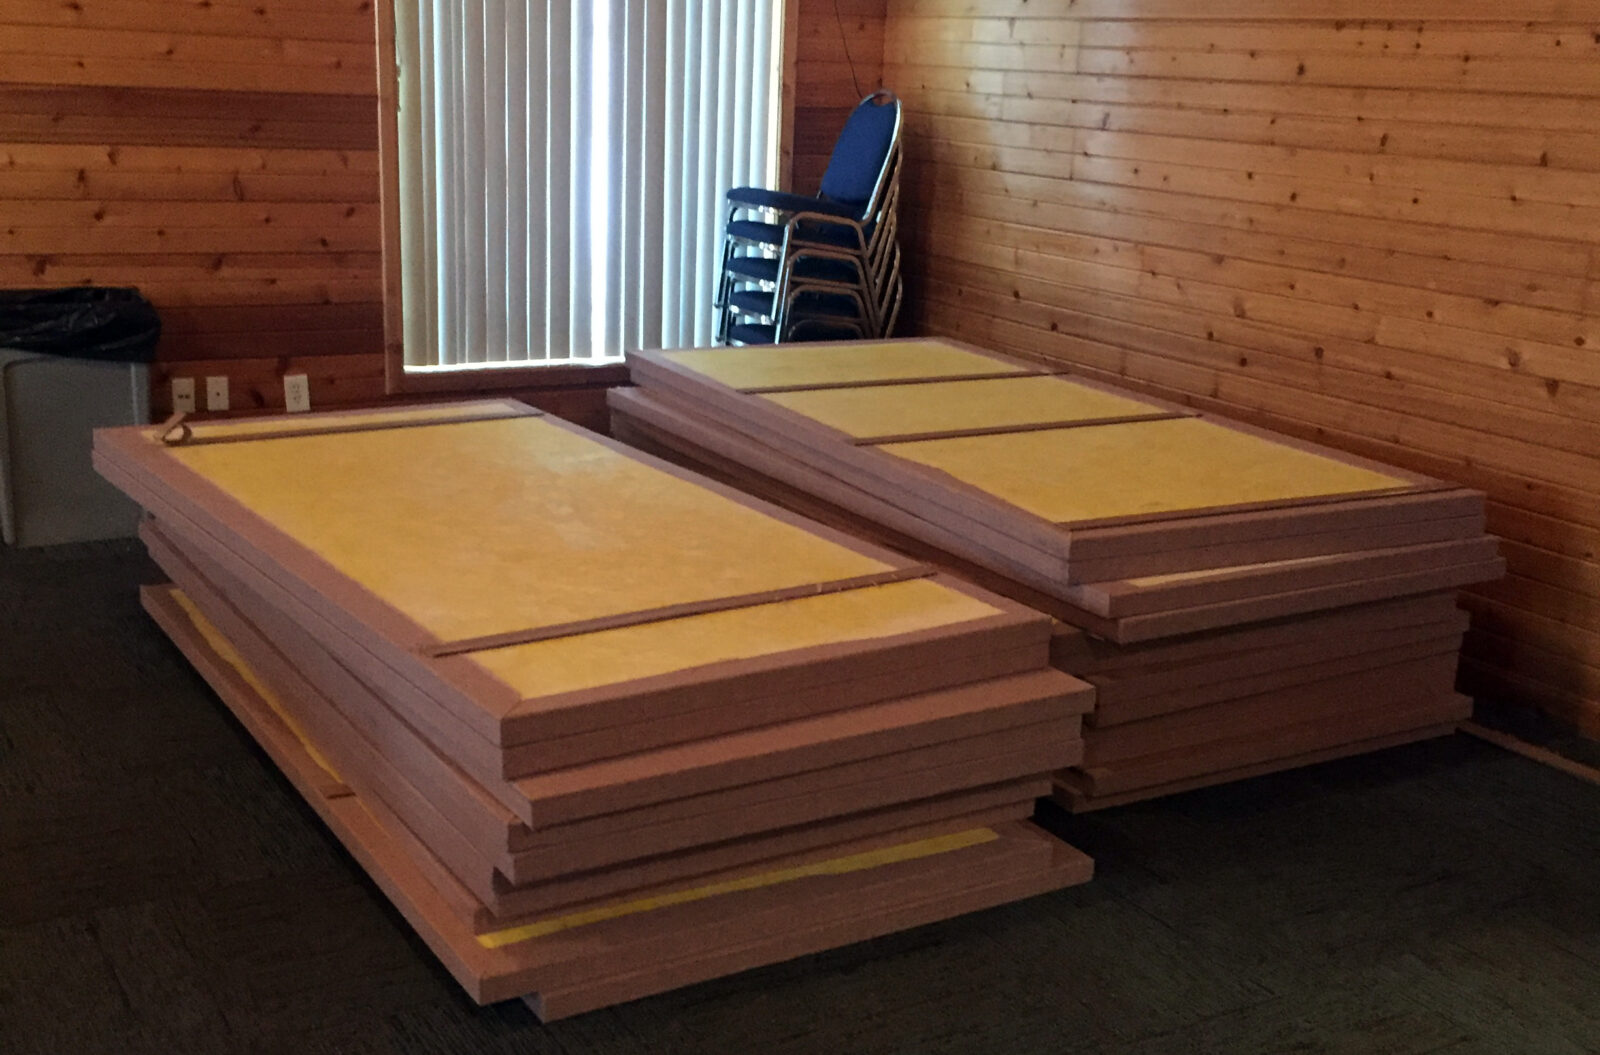
Step 1: Inspect Your Delivery

In preparation for your DIY acoustic panel installation, your first order of business is to carefully inspect the sound panels that were delivered to your project site. NetWell is not held responsible for any damage to a sound panel in transit to a client. If any panel damage occurs, the freight company will need to reimburse you, but that only happens if you sign for your delivery as damaged. Every 1 in 100 orders might have an issue. It is rare, but it does happen, so please be diligent and inspect your sound panels before the driver leaves. When your order arrives, please note that the driver will deliver your panels to your doorstep on a pallet, but they will not move the pallet indoors. Have 1-2 volunteers meet the driver, accept the pallet, inspect the order, break the boxes open, and carry the panels into your space.
Other Acoustic Treatments
The acoustic panel installation guides listed on this page provide instructions for our more popular treatments. If you don’t see instructions for your product or application, please contact us for installation guidance & instructions.
For questions related to the installation of your soundproofing treatment, please call our help desk at 1-800-638-9355.
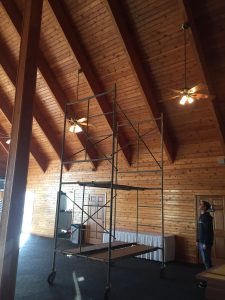
Step 2: Have a Game Plan
During the course of the 4 weeks or so that it takes to produce & deliver your sound panels, build a game plan for the completion of your installation. Be sure you have selected the appropriate mounting system for your panels (see below), and that you have the appropriate tools on-hand or reserved, like scaffolding or a scissor lift for upper wall or ceiling-mounted installations. Note that ceiling-hung panels (clouds & baffles) do not include hardware, such as aircraft cabling and eye screws, which can be purchased from a local hardware store.
Panel Placement
The layout of your panels is more of a cosmetic decision compared to an acoustic decision. As long as NetWell delivers the right amount of acoustic panels to your project site, you’ll get the results you’re looking for. Work to evenly space the soundproofing panels around your room and mount them to the wall or ceiling in even sight lines. Be sure to work with your sound consultant at NetWell to confirm that the mounting system is shipped with your order. View your sound panel mounting options below, and contact NetWell for any related questions.
Step 3: Mount Method Options
There are a variety of mounting systems available for you to complete the installation of your sound panels. Be sure to work with your NetWell sound consultant to confirm the appropriate mounting system is selected. The selected mounting system will ship with your order. Again, be sure to inspect the delivery of your sound panels and confirm that the mounting hardware is included.
WALL & CEILING PANELS
Fabric Panels
FabricTack Panels
FabricBloc
Blush Panels
Picture Panels
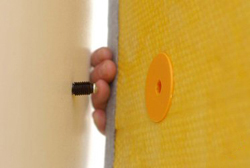
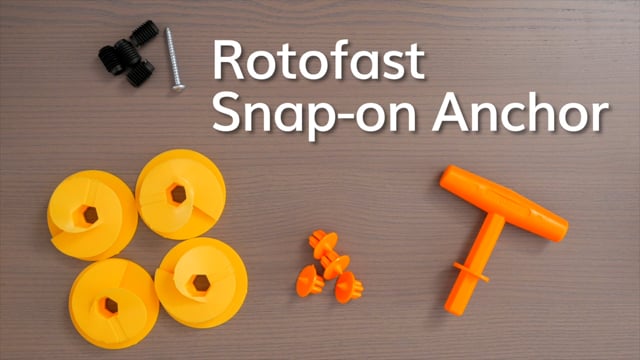
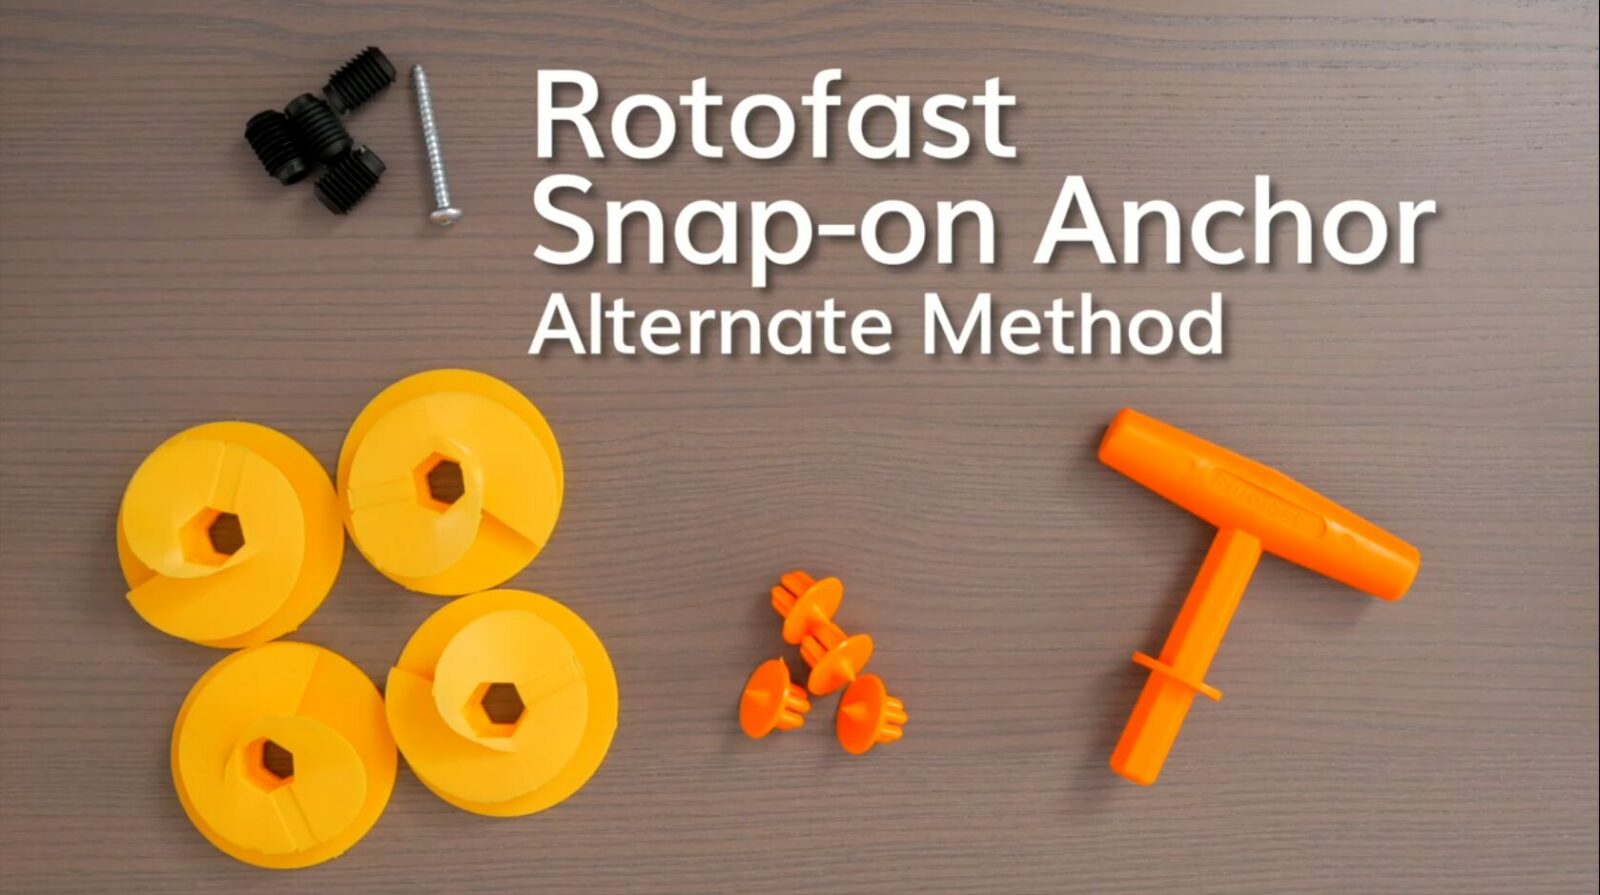
Option 1: Rotofast Snap-on Anchors
This is the most popular method for mounting our acoustic panels. The Rotofast snap-on anchors are super easy to use and ideal for mounting on virtually any surface. Each sound panel usually takes between 4-8 anchors which should be screwed in 6″ from the edge of the panel. The videos below show how to install on drywall, a hard substrate (such as concrete, wood, & CMU block walls), and how to install using standoffs to get even more performance from the acoustical panels. It’s glueless, portable, and simple.
Installing NetWell Fabric Panels on Drywall
Use this method if you are installing NetWell’s Acoustic Fabric Panels on drywall ceilings or walls.
Installing NetWell Fabric Panels on a Hard Substrate
This video demonstrates how to install NetWell’s Acoustic Fabric Panels on a hard substrate using the Rotofast snap-on anchor system. Use this method when installing our acoustic panels on concrete, block wall, wood, metal decking, or any other hard substrate.
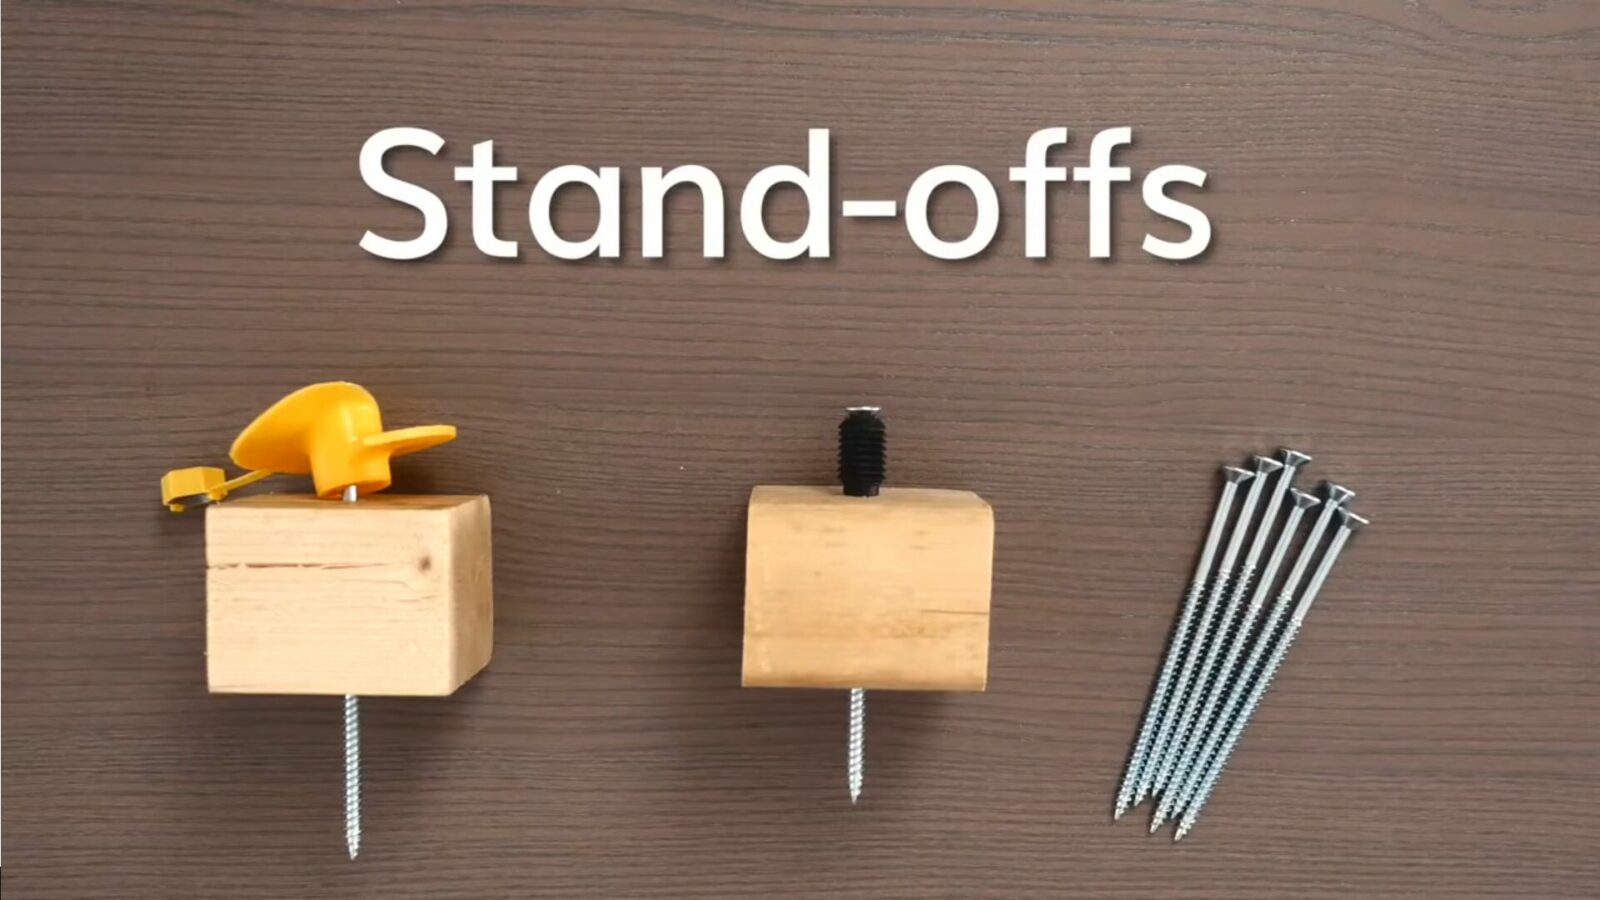
Installing NetWell Fabric Panels with an Air Gap/Stand-offs
In this video, we’ll show you how to install NetWell Acoustic Fabric Panels with stand-offs using Rotofast snap-on anchors to create an air gap behind the panel. Adding an air gap between the mounting surface and the acoustic panel increases the absorption and overall acoustic performance of the sound panel. The general rule of thumb is you want the air gap to be the same size as the thickness of the panel. So a 1″ panel should have a 1″ air gap, a 2″ panel should have a 2″ air gap, and so on.
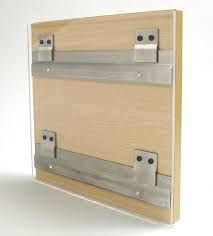
Option 2: Z Clips
For concrete, CMU block, or brick walls, Z clips (also knowns as EC Clips) can be used. Z clips are a set of mechanical clips that are anchored to the backside of the panels prior to shipment. Included in your order is a corresponding set of receiving clips or bars that are anchored to your mounting surface. The panels then simply lock into place. Since Z Clips are directional, be sure to inform us if you plan to mount the panels portrait or landscape so that we correctly orient the Z clips on the back of the panels during fabrication.
See Z Clip Wall Mount Instructions
See Z Clip Ceiling Mount Instructions
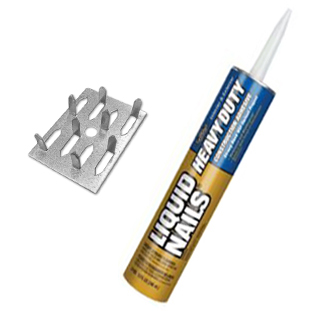
Option 3: Impaling Clips
This is the easiest installation method if there’s no intention to ever move the panels. Simply anchor the impaling clips to the wall, apply construction adhesive to the backside of the panel, and press the panels to the wall. The adhesive usually takes around 24-48 hours to fully cure (refer to adhesive manufacturer instructions). Impaling clips with spikes on one side are used on hard substrates, while double-sided impaling clips are used on drywall. This method should not be used when mounting panels to ceilings.
GROMMETED WALL PANELS
NetWell’s encapsulated wall panels are secured to the walls of your space using screws and washers. When installing panels on drywall, we recommend using EZ-anchors if not securing to wall studs. For walls made of concrete masonry units (block), brick, or concrete, we recommend using masonry screws such as Tapcon.

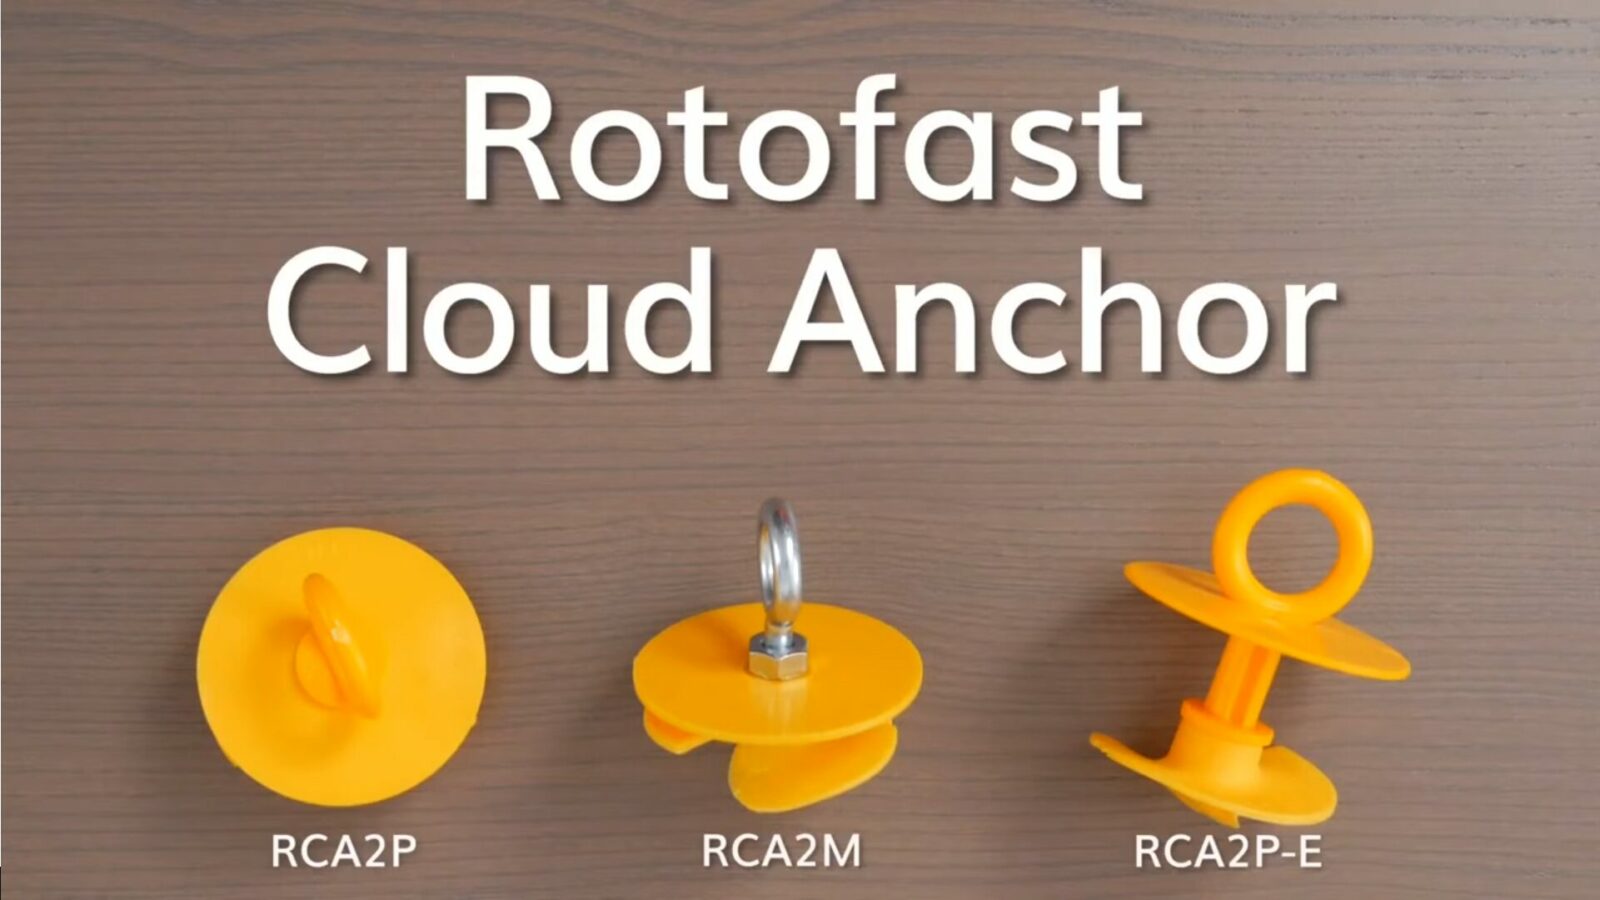
CEILING CLOUDS
Some clients opt to “float” their acoustic panels off the ceiling. This panel style is called a Ceiling Cloud. For this method, most systems include a set of Rotofast cloud mount anchors which screw into the back of the panel just like the snap-on anchors. When you’re ready for the installation, simply thread your own wire through the eye bolts and float the sound panels off your ceiling as you wish. The distance between the sound panels and the ceiling makes no difference for sound absorption.
How to Hang NetWell Ceiling Clouds
In this video, you will see how easy it is to install NetWell’s acoustic Ceiling Clouds using Rotofast Cloud Anchors that get shipped with your order. Simply thread the anchors into the back of the panel and suspend using thin gauge wire or chains.
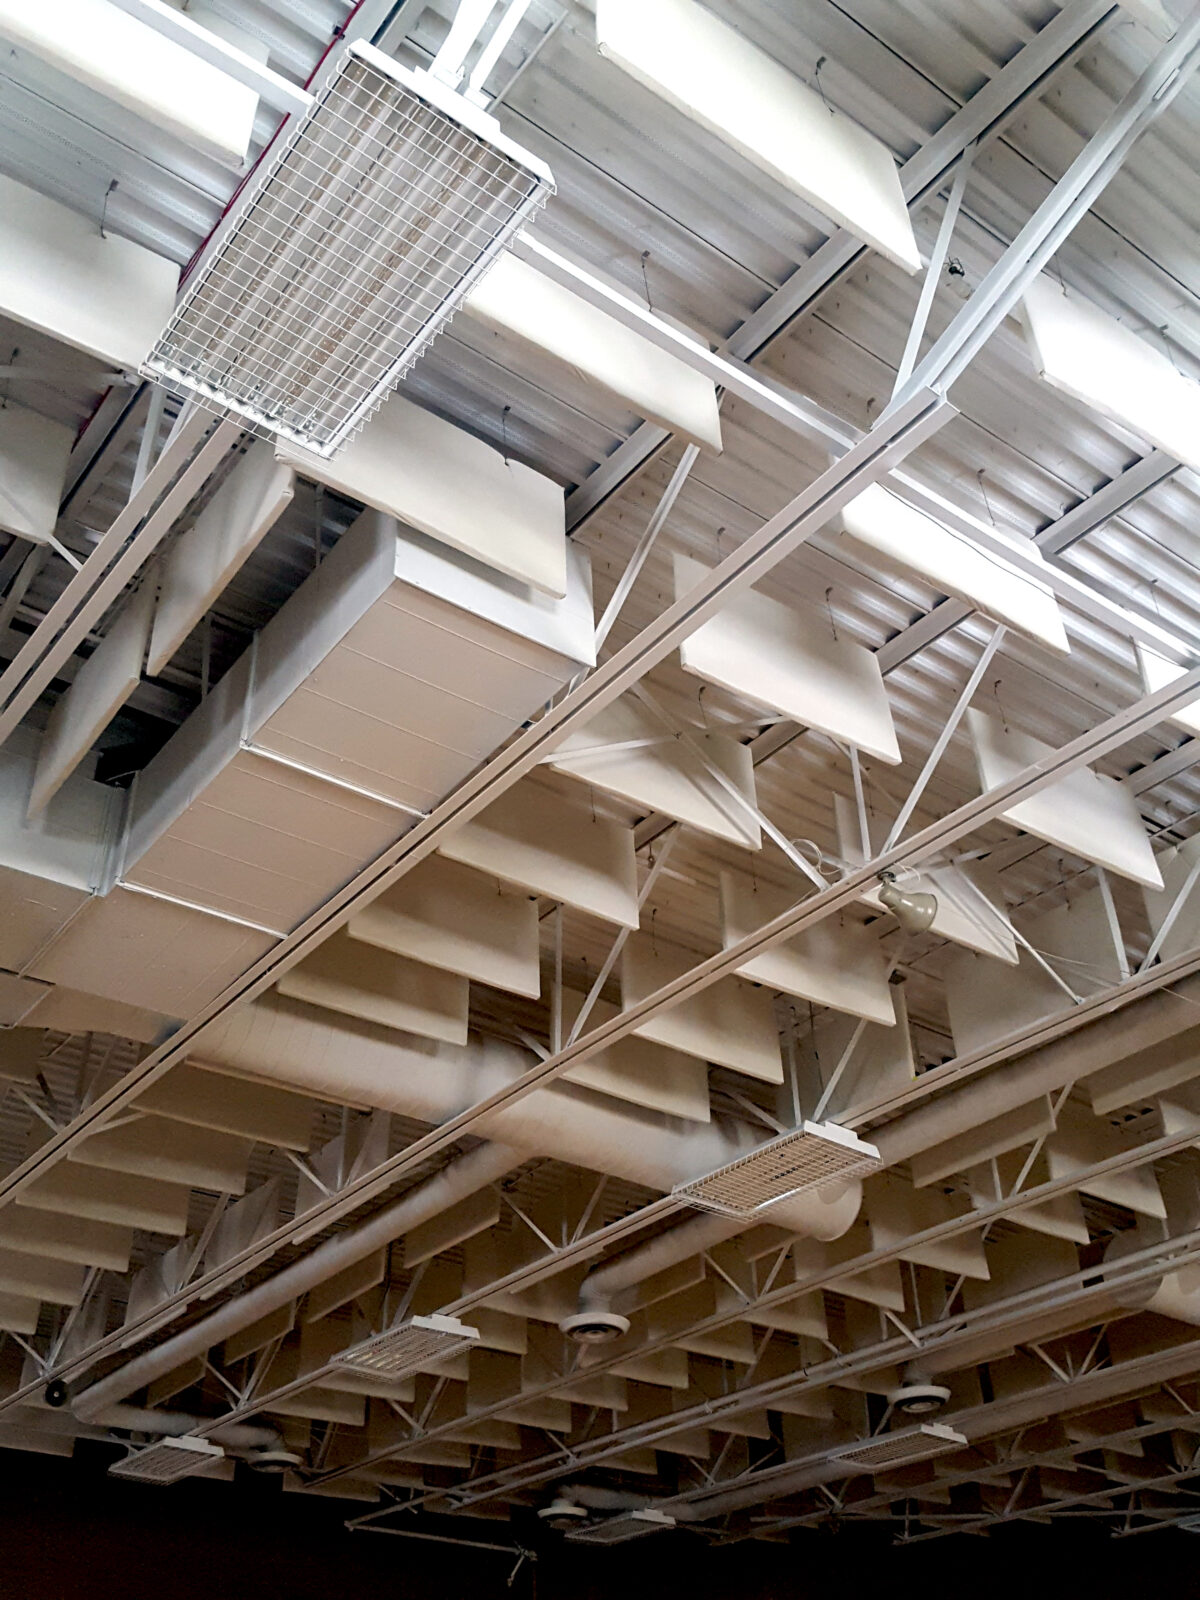
CEILING BAFFLES
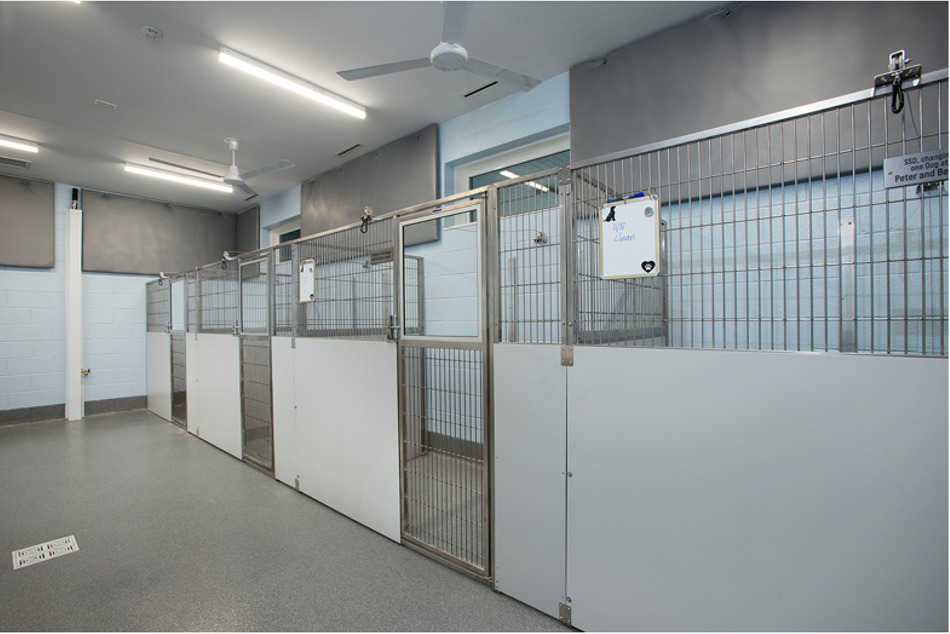
VET Baffles
FDA Baffles
Poly Baffles
Fabric Baffles
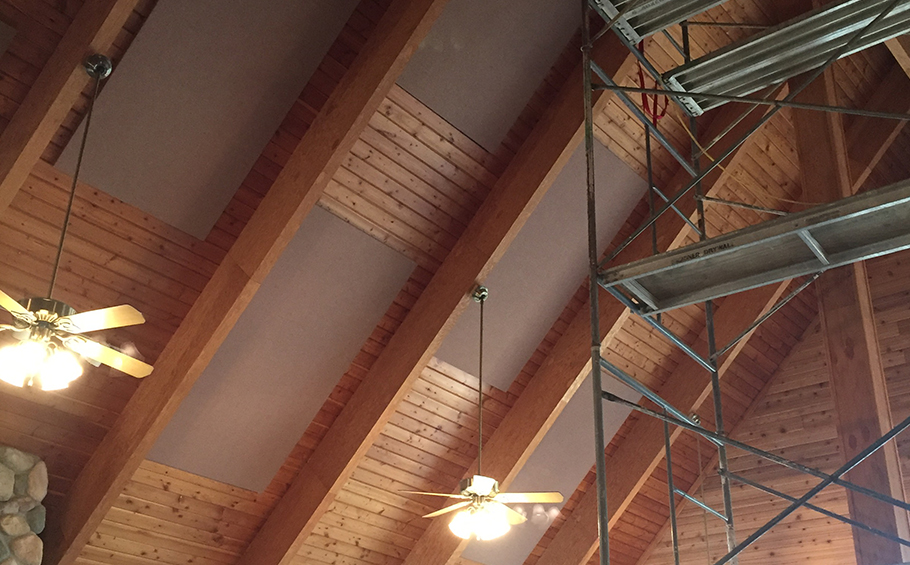
The goal when installing your acoustic ceiling baffles is to distribute them evenly across the entire ceiling. If your ceiling has “rafters” or bar joists, an easy method to determine how many baffles should be installed in each row is to take the total number of baffles you’re ordering and divide it by the number of rows your ceiling has. Typical spacing between baffles is 2 to 5 feet. For flat ceilings, alternating the orientation of the baffles helps to improve performance as this allows them to capture sound waves approaching from different directions. For sloped or peaked ceilings, we recommend aligning the baffles parallel with the ridge.
Questions?
If you have additional questions our DIY acoustic panels or soundproofing installations, please call our help desk at 1-800-638-9355. We look forward to working with you and delivering the results you are seeking.
Browse our sound panel systems to find out which installation clip option will work for you.
Fabric Panels FabricTack Panels PicturePanels